")
Pop tarts, the kind that come in the shiny silver wrapper, have a lot of room for improvement. The dough is crumbly and dry, the frosting is way to similar too plastic, and sometimes I’m not even sure if there is actually filling inside?? Let’s just say I was not a fan even as a kid.
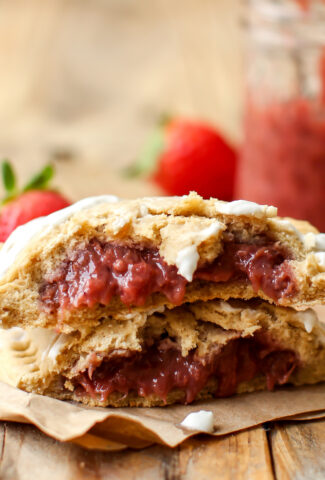
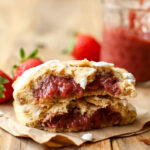
But I like the concept, and I know a lot of people are crazy about them. So with the jam-filled pastry reins in my hands I made these Strawberry Banana Pop Tarts to my liking, which means lots of filling, lots of actually creamy frosting, and maybe even some sneaky fruit in the crust. Oh and vegan and gluten-free too!
")
")
The pastry dough is a variation on this pie crust recipe but made softer and sweeter with tapioca flour and coconut sugar. I get a lot of questions every time I use tapioca flour about substitutions, and there really is nothing quite like it for gluten free baking. Or at least nothing I’ve found yet. Cornstarch is similar, but still not the same. Tapioca flour (or starch, they’re the same thing) has a glutinous effect that is perfect for keeping the dough sticky and elastic pre-baking and still soft post-baking. I try not to call for too many obscure flours in my recipes, but this one is a must.
")
A few tips
To make filling and folding and molding and making your pop tarts easier…
–Chill the dough. I didn’t think of this till after I filmed the video for this recipe, but it makes it much easier to work with.
-Build your pop tarts on the pan you are going to bake them on. Just slide the parchment paper you used for rolling right onto your baking sheet and then cut and fold. This will save you the difficulty of trying to transfer them later after they are jam filled pockets of pastry just waiting to spring a leak.
–It’s okay if they aren’t perfect. As you’ll see in the video, some of my dough rectangles tore in the process. But just grab a chunk of dough, flatten it out, stick it on top, and press the edges. You can cut it into a pretty little rectangle afterwards.
–Use a fork to make those classic breakfast pastry patterned edges. The tines of a fork work perfectly, no fancy tool required.
")
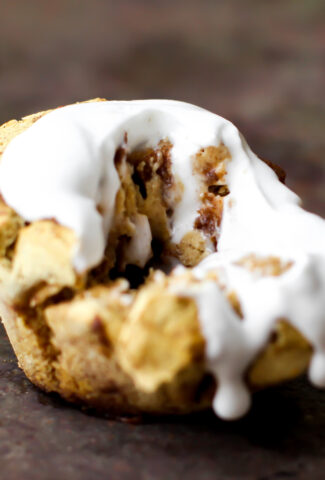
The Glaze
A pop tart is not a pop tart without a sweet white drizzle dancing on top of the otherwise plain-looking pastry. I used coconut whipped cream thinned out with the extra liquid from the can till it’s drizzle-able.
Or you could make a really simple glaze by whisking a little bit of non-dairy milk into powdered sugar.
Or you could opt for a chocolate squiggle on top–a blend of maple syrup and cacao powder.
As long as your pop tart isn’t naked, I’m happy!
")
Jam options
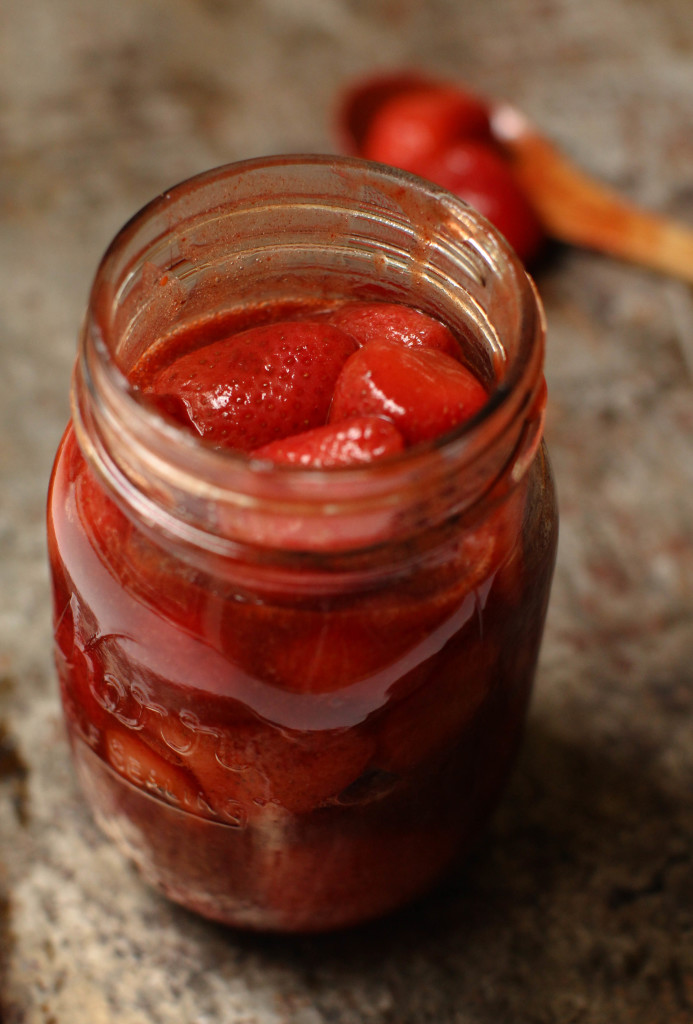
I used my Easy Strawberry Banana Jam, but here are some other jam flavors and options…
–5-Minute Healthy Pear Jam from Win-Win Food
–Blueberry Fig Jam from Feasting on Fruit
–Raspberry Chia Jam from Nadia’s Healthy Kitchen
–Raw Apricot Jam from Unconventional Baker
Alright enough chatting, let’s make them…
Strawberry Banana Pop Tarts (vegan + GF)
- Prep Time: 30 minutes
- Cook Time: 20 minutes
- Total Time: 50 minutes
- Yield: 4 pop tarts 1x
Ingredients
- 1 1/2 cup gluten-free flour (I used King Arthur’s GF Blend)
- 1/2 cup tapioca flour
- 1/4 cup coconut sugar
- 2 ripe bananas (chilled overnight in the fridge)
- 2 tsps baking powder
- 1 tsp vanilla extract
- 1 batch of my Easy Strawberry Banana Jam (or any jam you like)
Frosting
- 1 can of full fat coconut milk (chilled overnight)
Instructions
- In a large mixing bowl, combine the GF flour, tapioca flour, coconut sugar, baking powder, and vanilla.
- Add in the chilled banana and use your hands to cut it in and knead until you have a ball of slightly sticky dough. You may need to add a few more tablespoons of flour if it is too sticky.
- I suggest chilling the dough for 2-4 hours before rolling it out to make it easier to work with.
- Preheat the oven to 350F.
- Place the dough onto a sheet of parchment paper, cover with another sheet, and roll it out to 1/4 inch thickness. Peel off the top piece of paper, flip, and peel off the other piece just too loosen them both so it won’t stick later.
- Move the parchment paper and dough onto you baking pan. Cutting them out on the pan will save you having to transfer them later.
- Cut the dough into a rectangle. Cut the rectangle into 4 smaller rectangles.
- Dollop a couple of tablespoons of jam onto one side of each small rectangle.
- Fold the dough over and pinch the edges.
- Use the tines of a fork to crimp the edges.
- Bake for 20 minutes at 350F.
- For the glaze: Scoop out the cream from the can of coconut milk. Whisk, adding in the liquid from the can little by little to achieve a drizzle-able consistency.
- Or see other options in the post above.
- Cool then drizzle with glaze and enjoy!
")


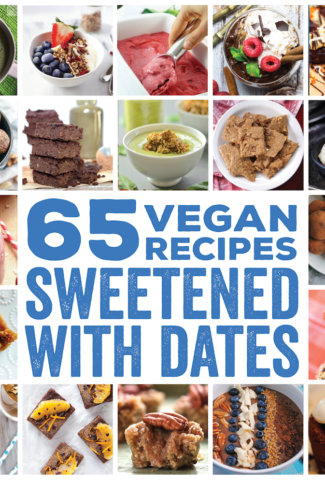
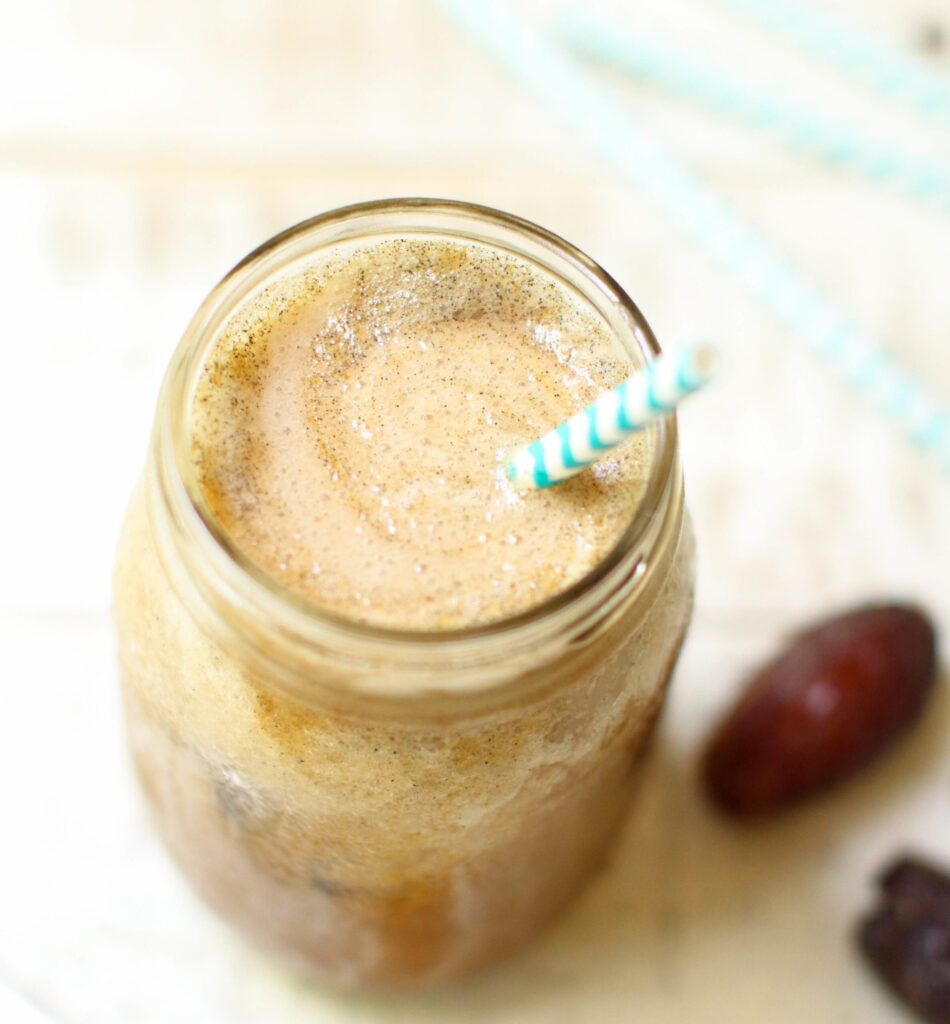
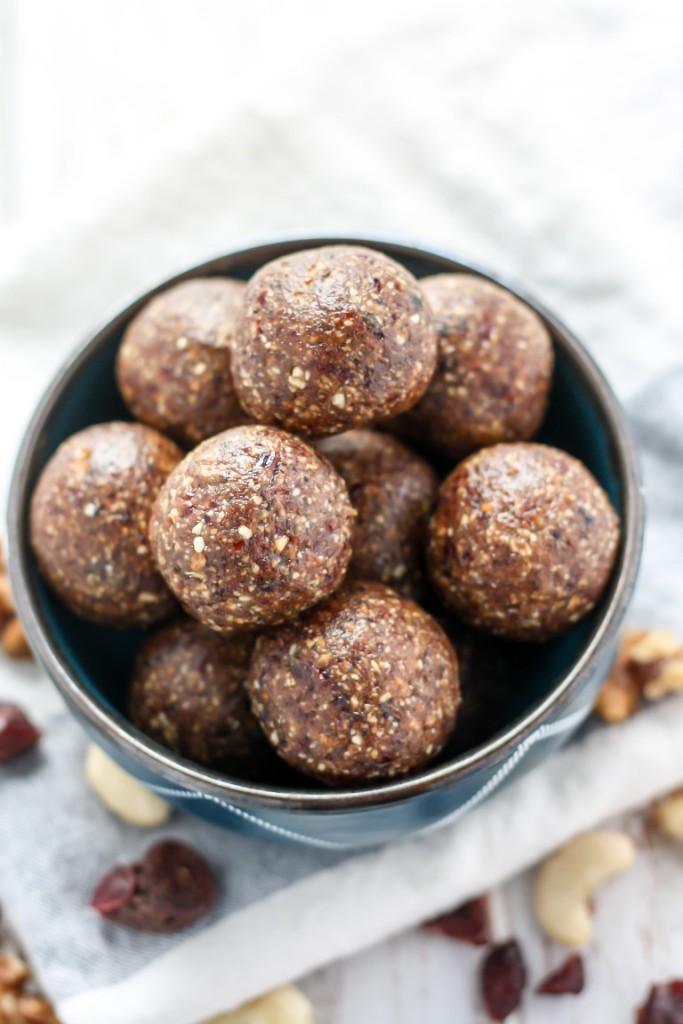
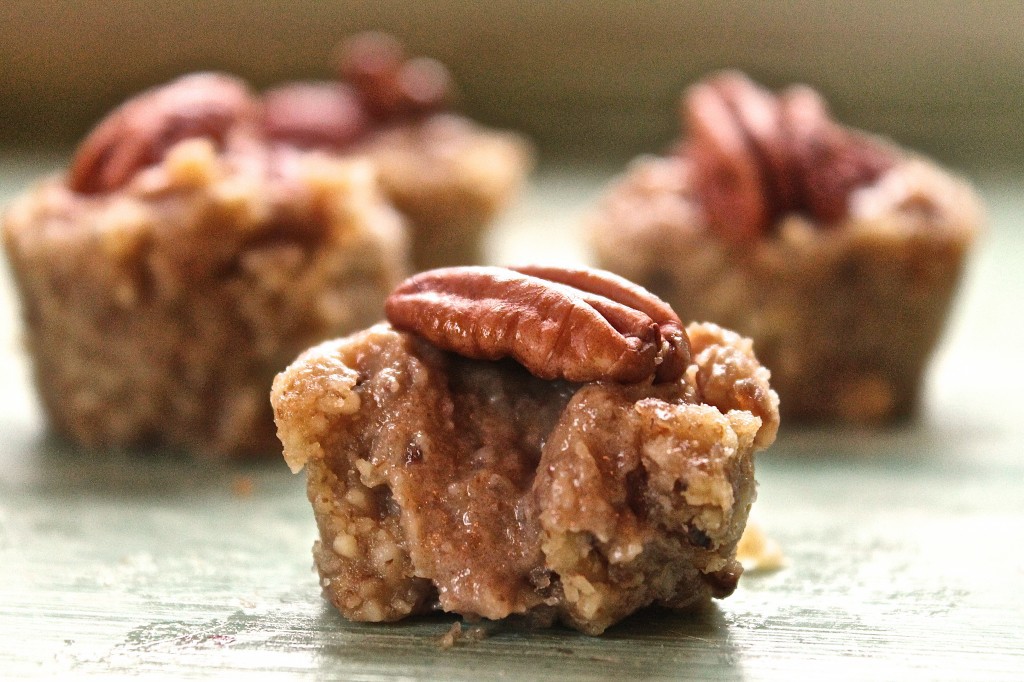
 Dates are by far my favorite way to sweeten anything and everything! Blend ’em, stuff ’em, sneak ’em in under the guise of chocolate–anytime I can use those gooey sweet fruits instead of sugar I will. But I’m not the only one who loves creating


")
")
")
")
")
")
")
")
")
")
")

")
